In this guide, we’ll show you how to set up Stripe Checkout with Sprout Invoices. You can then offer this simple, secure online payment method to your customers. Sprout Invoices is a popular WordPress invoicing plugin that is compatible with all the latest payment gateway tools.
Having a simple checkout process is key to an efficient point of sale. Since it ensures seamless interaction between you and your customers.
1. Get your Stripe API Keys
2. Configure Stripe within Sprout Invoices
3. Test the payment process
4. Make payments live
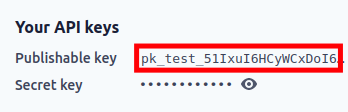
Access Your Stripe API Keys
- Login to your Stripe account.
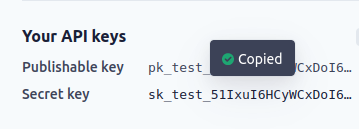
- Under the “Your API keys” section, click your Publishable key to copy it. Then save it for later use.

- Click your Secret Key to reveal it, then click it again to copy it. Save this for later use as well.

How to Setup Stripe Checkout
Now that you have your API Keys, you can set up Stripe Checkout with Sprout Invoices. In this section, we’ll walk you through the steps.
- Login to your WordPress Dashboard.
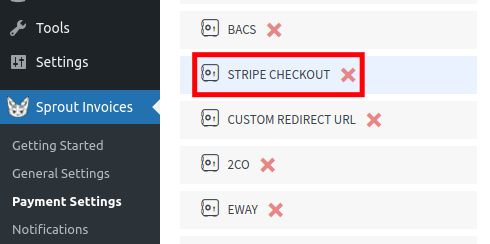
- Click Sprout Invoices then Payment Settings in your navigation menu.
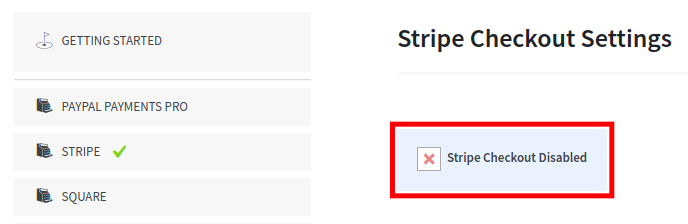
- Scroll down and click the Stripe Checkout option.

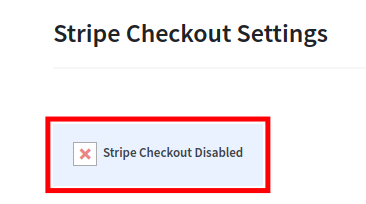
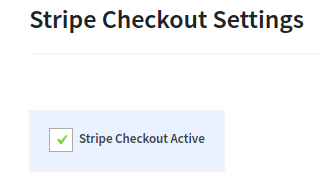
- Click the Stripe Checkout Disabled link to enable it.

It will then change to “Stripe Checkout Active”.

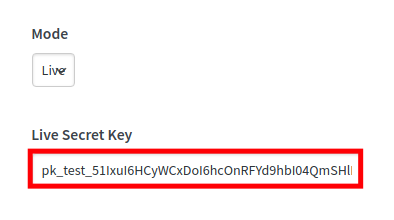
- Click the dropdown menu under “Mode” and choose if you want to be in Test or Live mode.
- Enter the Live Secret Key that you accessed in the first section of this guide.

- Enter the Live Publishable Key in the available field.
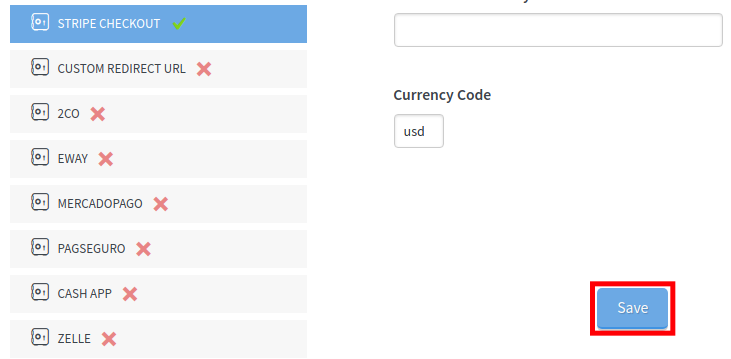
- Scroll down and enter your Currency Code. The default setting is “USD”.
- Stripe Checkout follows all the Presentment currencies. See Supported Presentment Currencies
- Click the Save button.

Now, when customers receive an invoice they will see a link to “Make a Payment.”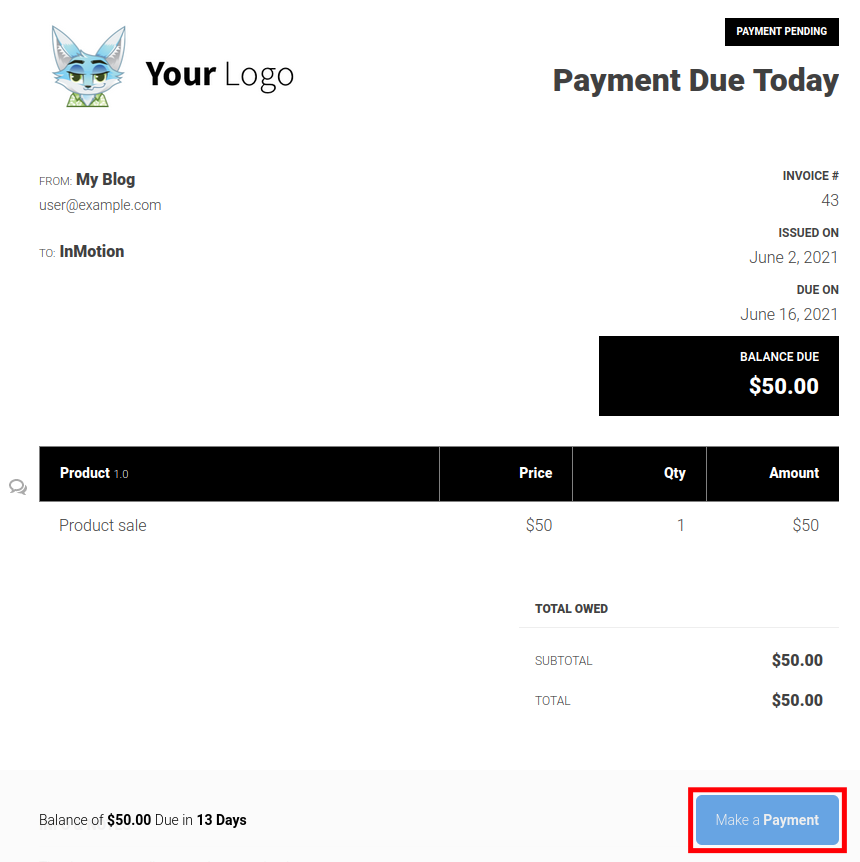
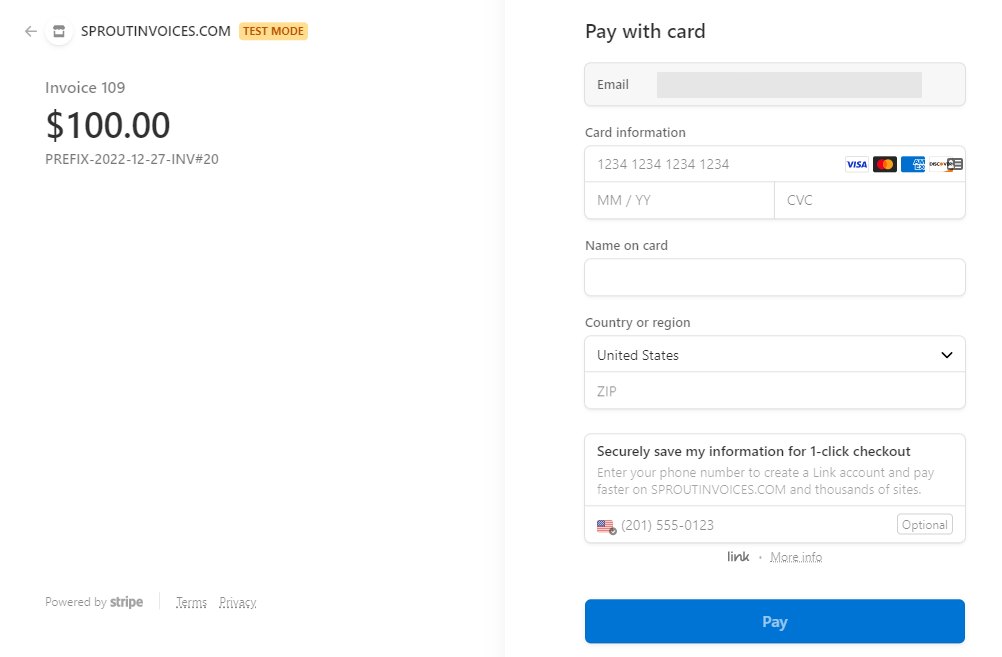
Clicking that link will give them a Secure Credit Card option. This link will take them to a Stripe URL for a secure checkout.
-
You can even process payments without redirecting customers to Stripe. You can enable this option in the Payment Settings menu. Click Sprout Invoices then Payment Settings in your WordPress Dashboard.
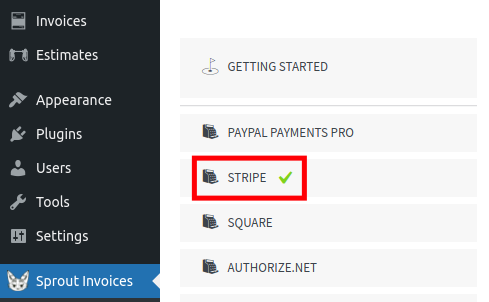
- Click the Stripe link under Getting Started.

- Check the Stripe Checkout Disabled button, to enable it.

Now customers will be able to “Pay by Card” as well as the “Secure Credit Card” option.
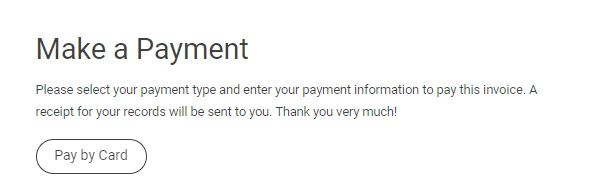
The Pay by Card button allows your customers to checkout with Stripes secure checkout page. This option will direct the customers Card payment Stripe.
Congratulations, now you know how to start using Stripe Checkout with Sprout Invoices. You can now accept payments seamlessly from your WordPress site. Check out our Sprout Invoices Support page for more helpful tutorials.
Try our WordPress Invoicing Plugin today! Stripe Checkout is included with a Business License or above.