In this guide, we will show you how to add categories in WordPress. Categories and subcategories are used in WordPress for grouping posts together. It also helps to identify the type of content that will be included in that section.
If your WordPress blog covers many topics, you will most likely need more categories for organizing them together. This may also help your search engine optimization (SEO) efforts by clearly identifying the content clusters.
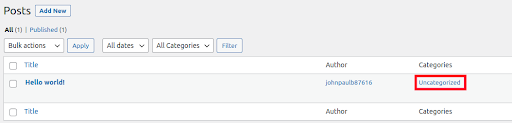
The default category is “Uncategorized” so any post that is created will automatically be marked as Uncategorized.
After you create new categories in WordPress, you can update existing posts to add them to the category or select them when creating new posts.
So, follow the steps below to learn how to create categories in WordPress. We’ll also show you how to select these new categories when creating a new post or by quick editing an existing one.
- Add Categories in WordPress
- How to Choose the New Categories
Add Categories in WordPress
Here are the steps to create new WordPress categories in your Dashboard.
- Login to your WordPress Dashboard.
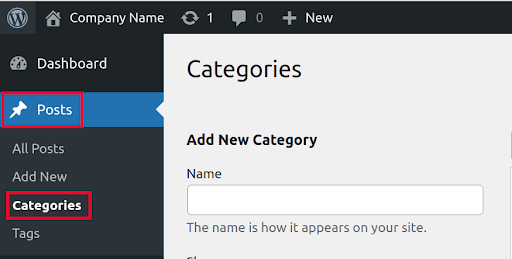
- Click Posts then Categories in the navigation menu.

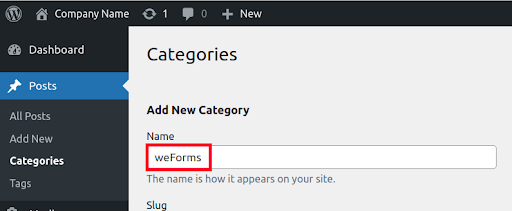
- You will then see an Add New Category section. Enter a Name for the new category. It should clearly identify the subject matter of the posts that will be included in this section.

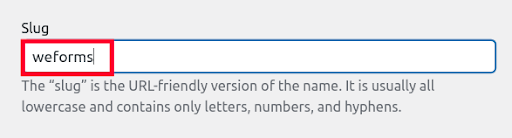
- Enter a Slug for this new category. Keep in mind, this will often be included in the URL of the category. For instance, if I enter “test” for the Slug this new category will be accessible at the following URL:
https://example.com/category/test/Keep in mind this URL structure may differ based on your Permalink or Category base settings.

- If you want this to be a Subcategory, choose a Parent Category from the drop-down menu.

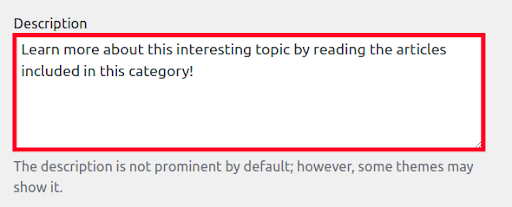
- Enter a category Description in the available field. Explain the purpose and goal of the content in this category.

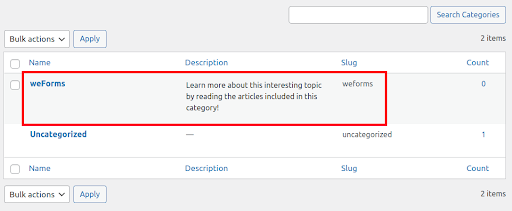
- Click the Add New Category button.

You will then see your new category listed.


How to Choose the New Category
Now that you know how to add categories in WordPress, we’ll show you how to select them for existing and new posts.
Choose Category for Existing Post
If you already have posts created and want to move them into the new category, the Quick Edit options is an easy way to accomplish that. Here are the steps.
- Login to your WordPress Dashboard.
- Click Posts.
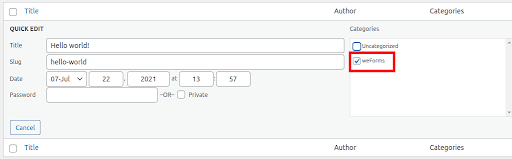
- Roll your mouse over the post and click Quick Edit.
- Select the new category.

- Click the Update button to save your changes.
Choose Category for New Post
You can also select this category when you are creating a new post. Here are the steps.
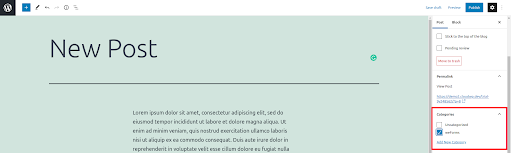
- Click Posts then Add New.
- Over to the right choose your new category.

- Click the Publish button to save your post. It will now be grouped with similar content.
Congratulations, now you know how to add categories in WordPress and assign posts to them. You can now begin organizing your content by grouping related posts together.